How can I project an image in this 3D recreation of a theater? The theater has 16 projectors and they cover all the walls and floor, and I need to somehow split the image between them and cover the entire space so it looks seamless. I’m pretty new to this, so maybe you could point me to some learning resources as well.
In projects like this, the workflow is typically organized as follows:
-
Prepare the source content
Usually, you would start with a 360° spherical (VR) video or other content designed for full-environment projection. -
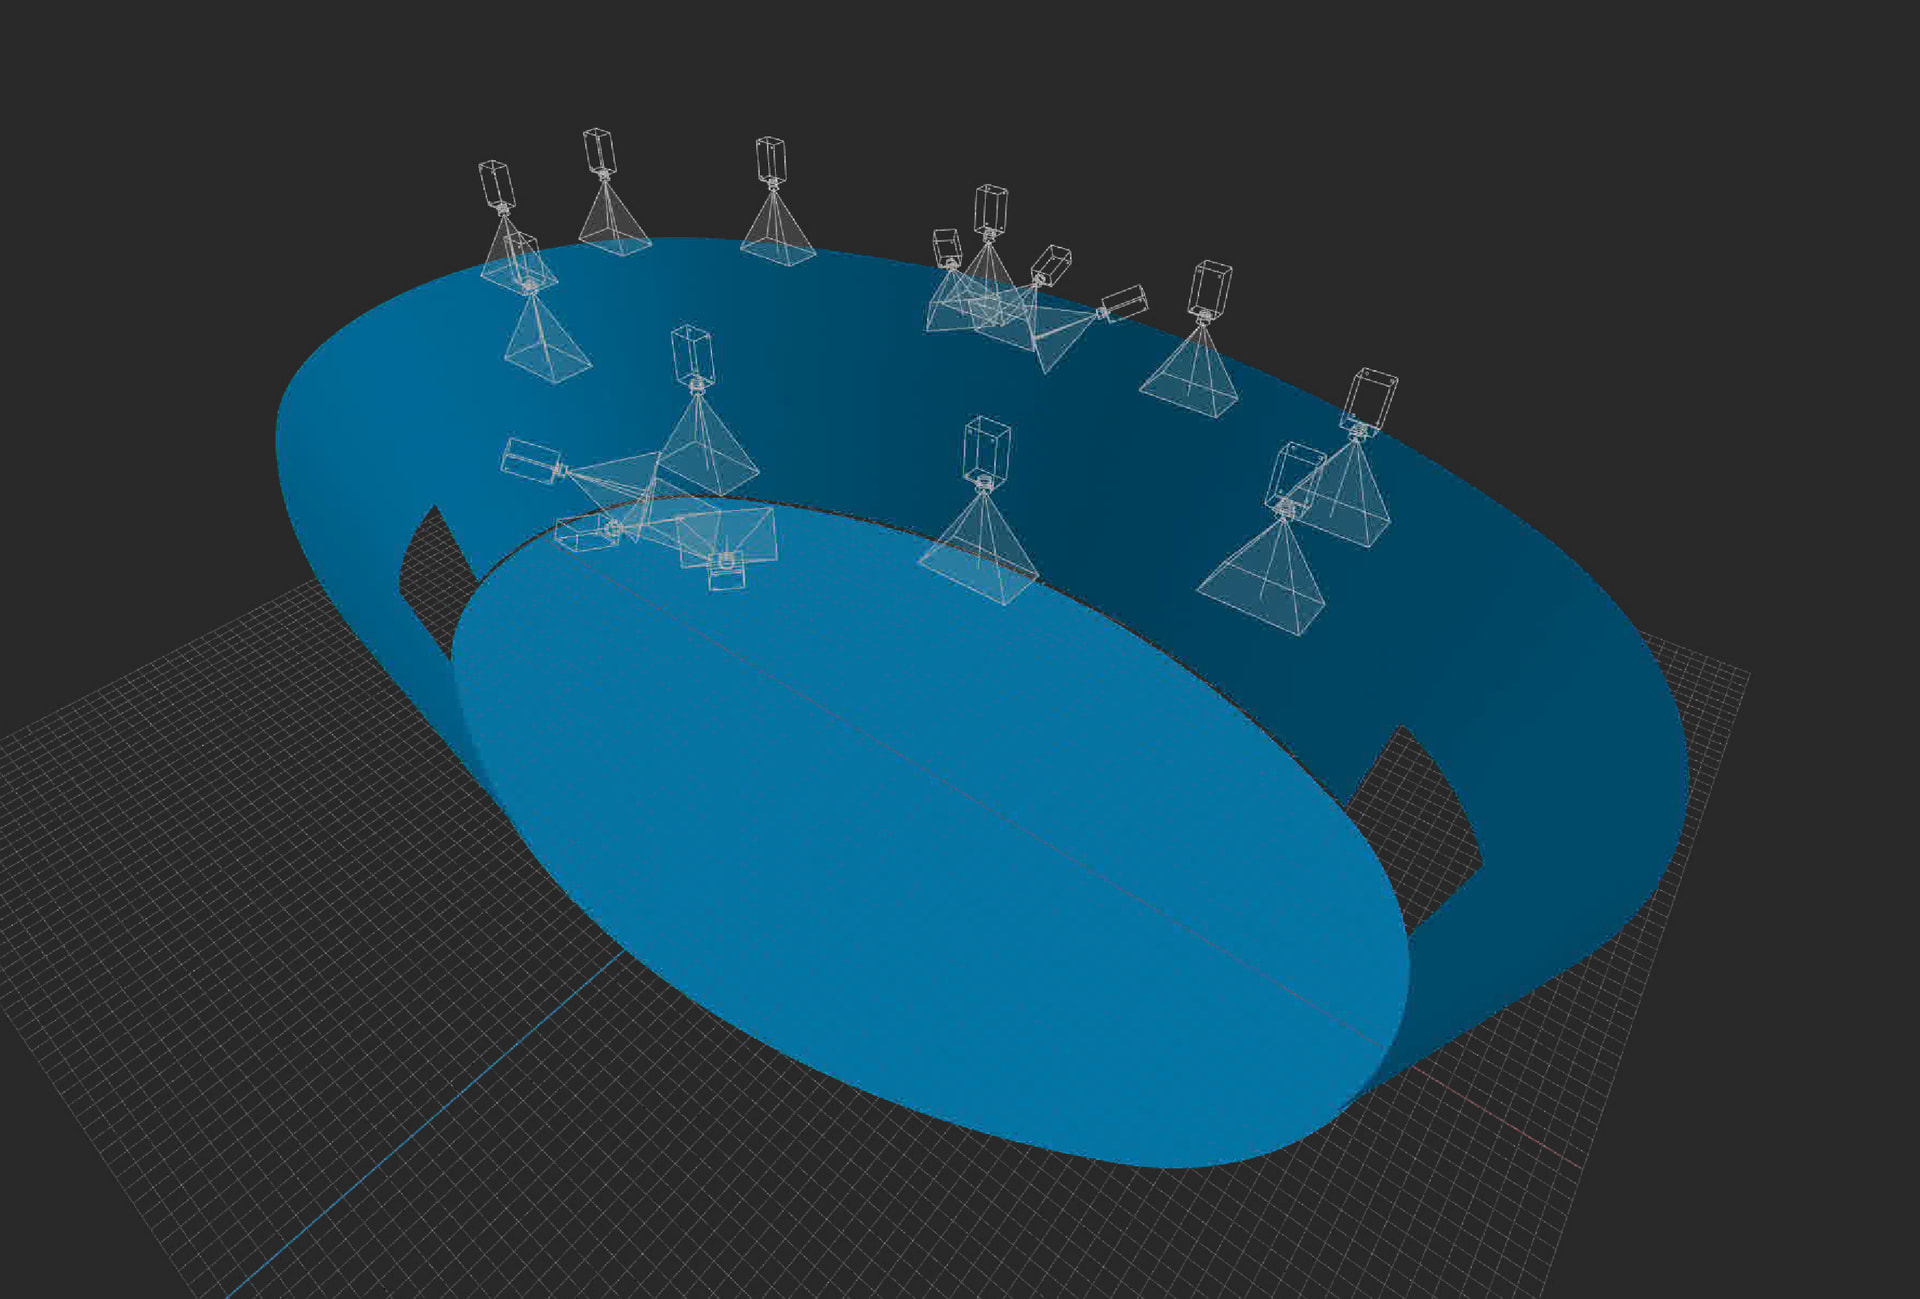
Set up a virtual spherical projector in the 3D Scene
In the 3D Scene node containing your theater model, place a spherical projector at approximately the center of the audience area, at about 1.7 m height (average viewer eye level).
This allows the content to be projected onto the theater’s geometry inside the virtual scene. -
Calibrate the real projector system using a fisheye camera
For a space with 16 projectors covering walls and floor, calibration is usually performed with a fisheye camera mounted on the ceiling.
The camera should be positioned so it can see the entire projection surface, below the projectors. -
Match the virtual camera to the real camera position
In the 3D Scene, place a virtual fisheye camera at the same position and orientation as the real camera in the venue.
The remapped image generated from this virtual camera is then used as the input source for the Calibrator node. -
Pay attention to wall-to-floor transitions
The transition between the wall and floor should ideally be rounded, or there should be a small gap between them.
If the edge is perfectly sharp, automatic calibration may introduce minor distortions in that area. -
Choose the camera position carefully
The camera setup is very important:- It must see the entire screen area without obstructions.
- It should not cast shadow onto the screen.
- Projector should not project directly into camera.
- Its position should remain fixed so future recalibration can be done reliably.
-
Recommended hardware approach
For this type of installation, it is generally better to use our calibration module with a small industrial Ethernet camera, as this provides a more stable and practical solution for repeated calibration.
1 Like
I see, so the calibrator license is required for that. We don’t have it yet, so I’m not that familiar with the calibration process besides reading the Screenberry docs. Is manual calibration possible?
We have nine cameras that are used with Christie Mystique for calibration. Would they work or is it better to have a single fisheye camera? I know that the calibrator licenses are priced per output, but what is considered one output? Would one license be enough for our setup?
Yes, calibrator license is required for that. You can calibrate in non-commercial version without the license to test the calibration. It will output watermarks.
Manual calibration would be quite complicated for this setup, but is possible. You can map the 3D model with a panorama grid on the walls and a grid for the floor, and use bezier patches with perspective transform to calibrate it manually. With enough effort you can calibrate such setup and blending maps will be generated automatically. But it is almost impossible to make even brightness and make black level compensation manually.
Calibrator licenses is priced per device, i.e. per projector.
I’m not familiar with cameras that are used with Christie Mystique. I know that such setup can be calibrated with one fisheye cameras, and we did similar setup in LA few years ago.
1 Like